Azure is Microsoft’s cloud platform and a competitor to Amazon AWS. The first thing we need to cover is getting access to the Azure portal. Azure portal is the web interface where you can create and manage resources. If you don’t have a free tier Azure account, we recommend checking out our getting started page here.
Common Resources
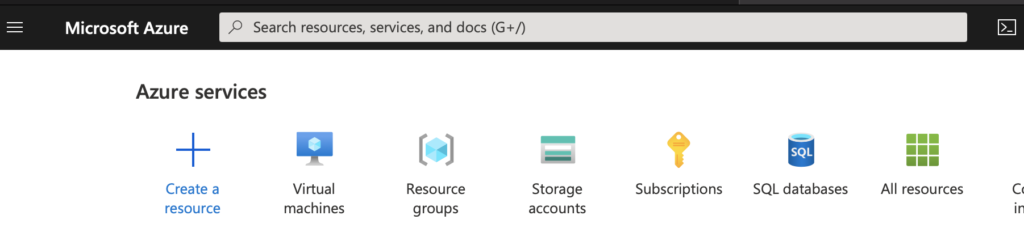
While Azure offers a lot in the way of resource types, we recommend beginners check out Data and Compute resources first. Data resources are your typical data storage features and can be found by creating a storage account resource. Once you create a storage account, you can create file shares, table storage, queues, and Blob containers. We will explore data resources in another post outlining how to get Azure data certified. For now, know that Blob storage is the most generic type of storage and can store any generic file.
Compute resources are virtual machines. Some people refer to these as virtual servers. Clicking on Compute when adding a new resource will display more than just virtual machines; for now, just focus on the virtual machines as we will discuss features, like Azure Functions, in a later post.
Azure Hierarchy
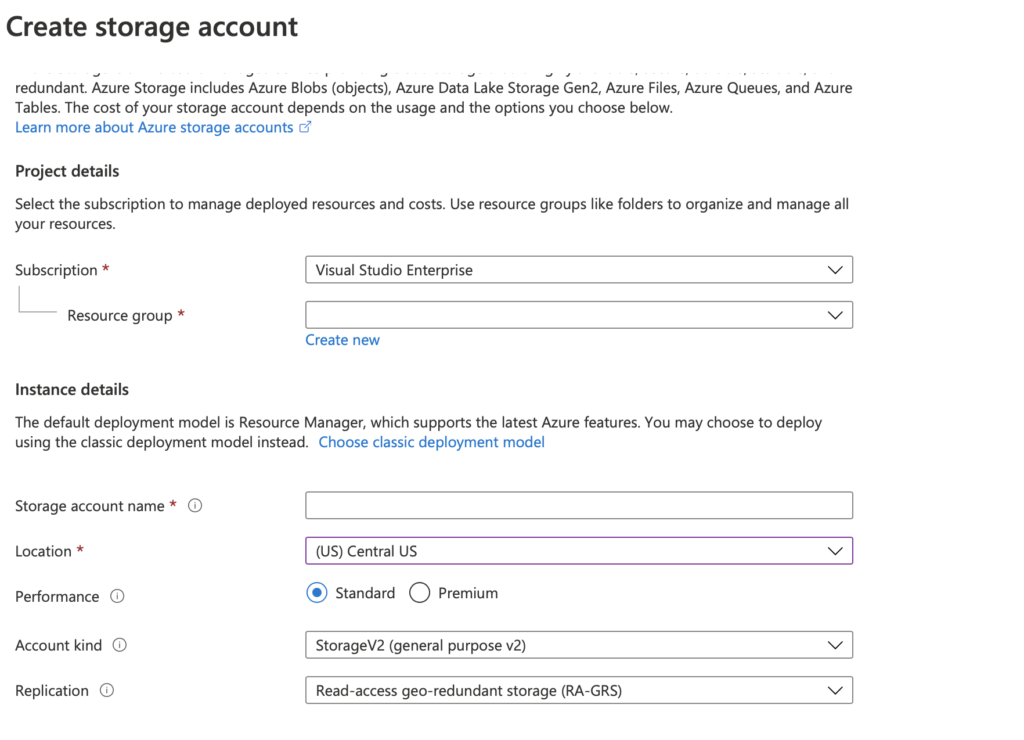
Before we get into some exercises, we want to talk about how resources are associated with your account. When you signed up for a free-tier account, you were given a subscription ID. Every account can have multiple subscriptions, but it is important to note that resources are tied to subscriptions and cannot be transferred. The next logical assignment is a resource group. A resource group is a bucket assigned to a subscription that allows users to keep resources together. Keeping resources together allows for billing reports and permissions to be associated with a group of resources. A subscription can have multiple resource groups. The last link in the hierarchy is a resource, like storage accounts or virtual machines. In summary, A Microsoft Azure account can have multiple subscriptions, with each subscription having multiple resource groups and each resource group having multiple services within it. It may sound complicated, but it may help to know that resource groups are logical groups. If you want to see all the resources and the current billing, you do that from the actual subscription.
Try This
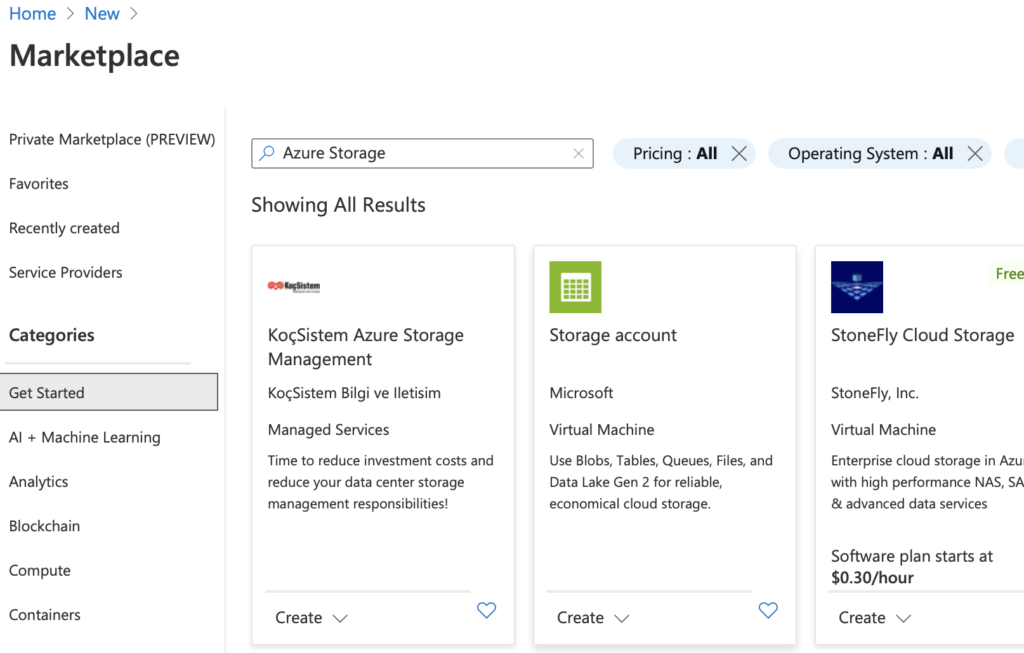
Let’s wrap this up by creating two resources. Let’s create a storage blob for storing cat pictures in the future, we are actually writing a post for that app and a VM to host our simple application. You can delete these immediately after creating them to avoid unnecessary charges. Log into portal.azure.com and let’s get started.
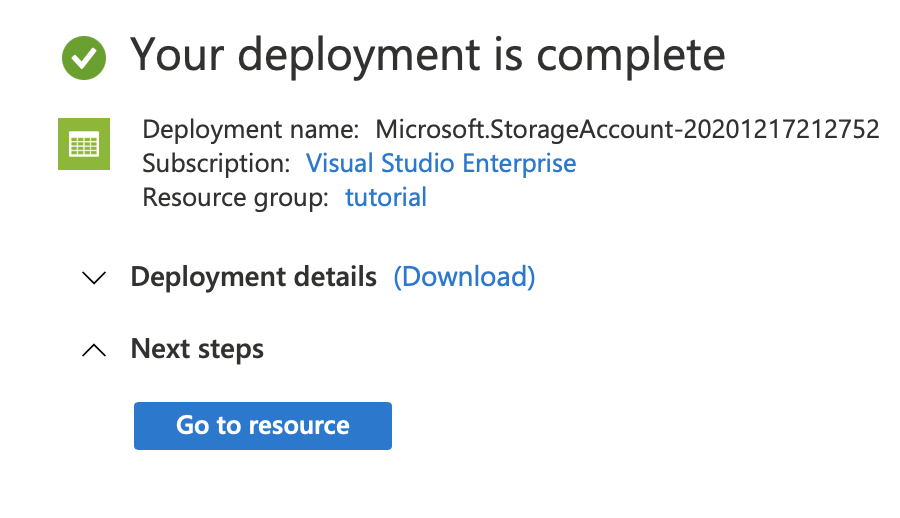
Congrats! You just created your first storage account. A storage account can be several different types, such as containers (Blob) and file shares. The easiest thing to do now is to click containers, click the plus sign at the top to create a new container, call it to test, and hit create. You will now see your test container. Click on it and upload should appear at the top. You can now upload files!
Virtual Machines
We know that you might be getting a little tired from reading, but we are almost done! Follow the same initial steps you took for the storage account to create a virtual machine. We’ve provided a screenshot below of the settings we used. Hit review and create to get a VM.

Clean Up
How do we clean up? All we need to do now is go to our resource group, which we called our tutorial. Check all the resources in the group and click delete at the top right. Done!